Growing crisp, vibrant carrots that meet the stringent standards of today’s health-conscious consumers demands a thoughtful approach to cultivation. By focusing on precision in every step—from selecting the right site to strategizing post-harvest handling—farmers can achieve high-quality roots that command premium prices. This guide will walk you through the essentials of producing top-tier carrots under a certified organic system, ensuring both environmental stewardship and economic profitability.
Soil Preparation and Selection
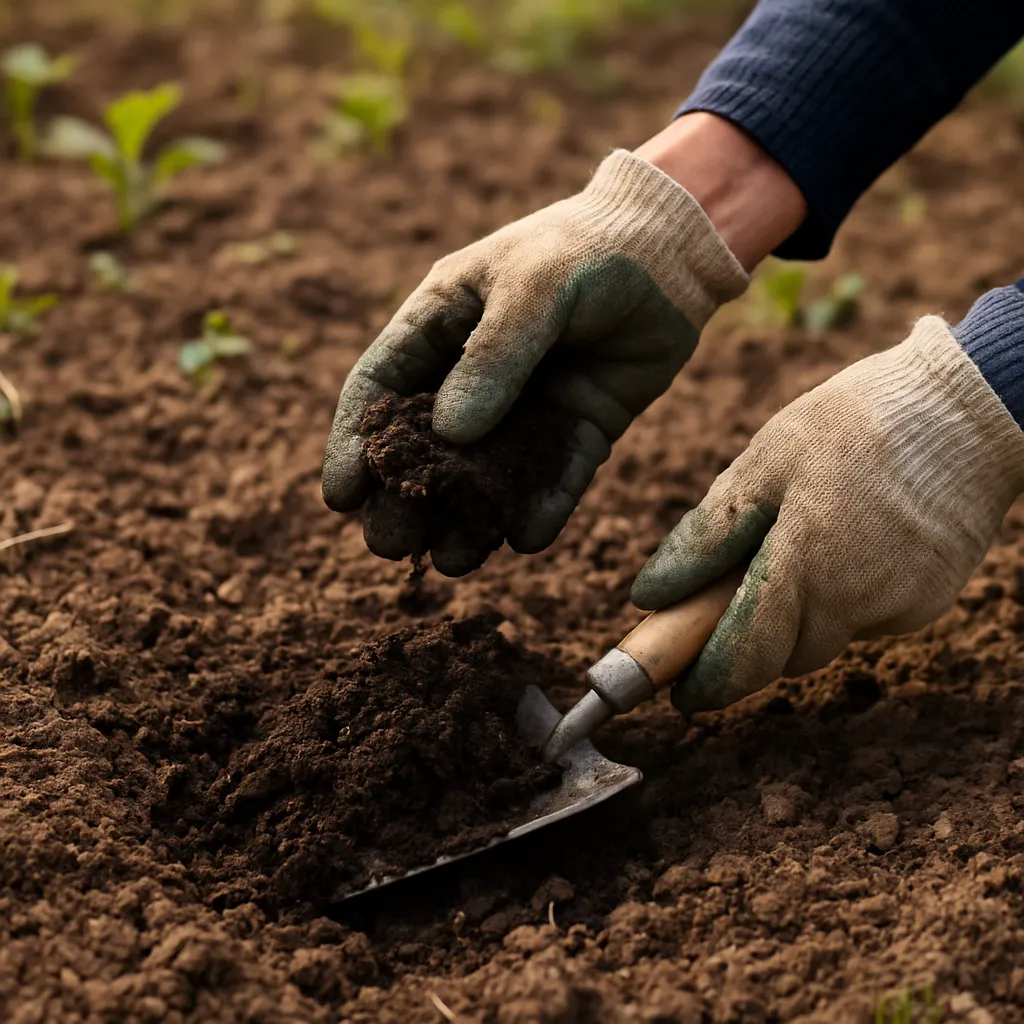
Success starts with understanding your field’s inherent properties. Carrots thrive in loose, well-drained soils with consistent texture. Heavy-clay or compacted land can yield misshapen roots, so target sandy loam or silty loam beds. Conduct a comprehensive soil test at least six months before planting to assess pH, organic matter, and mineral availability.
Key Soil Attributes
- pH: Maintain a range of 6.0–6.8 for optimal nutrient uptake.
- Organic matter: Aim for 3–5% to support soil structure and microbial life.
- Depth: Ensure at least 12 inches of friable topsoil free of clods and stones.
Implement a rotation plan that prevents disease build-up. Ideal predecessors include legumes or small grains. Avoid planting carrots where nightshade family crops (e.g., tomatoes, peppers) have grown recently to reduce risk of pests and diseases such as nematodes or root-knot issues.
Incorporating Organic Amendments
Four to six weeks before sowing, incorporate well-aged compost or manure to boost soil biology. Work in coarse wheat straw or chopped cover crops to create a stable crumb structure. This not only enhances moisture retention but also provides a slow-release source of nutrients that carrots will access as they develop.
Planting Techniques and Crop Management
Precision in seeding ensures uniform roots and increases overall yield. Carrots require fine, firm seedbeds free of debris. Use a rotary tiller or harrow to break clods and level the surface.
Sowing Guidelines
- Plant seed ¼–½ inch deep in furrows spaced 12–18 inches apart.
- Maintain in-row spacing of 2–3 inches; thinning may be required once true leaves emerge.
- Optimal soil temperature: 50°F–85°F for germination within 10–21 days.
Consider precision planters equipped with vacuum seed plates for consistency. After sowing, firm the seedbed gently to ensure good seed-to-soil contact. Lightly irrigate to settle the soil around the seeds without causing waterlogging.
Thinning and Intercropping
Once seedlings reach 2 inches tall, thin to maintain target spacing. Overcrowded rows produce stunted or forked roots. In an organic system, intercropping with shallow-rooted greens like lettuce can suppress weeds and optimize land use during early carrot establishment.
Irrigation and Nutrient Management
Carrots have a relatively shallow root system but require consistent moisture to develop straight, tender taproots. Fluctuating water availability can cause splitting or coarse texture.
Effective Water Strategies
- Irrigation Frequency: Apply 0.75–1.0 inches of water per week, adjusting for rainfall.
- Method: Use drip or micro-sprinkler systems to deliver water uniformly and reduce foliar wetness.
- Timing: Water early morning to minimize disease risk and evaporation.
Monitor soil moisture with tensiometers or simple probes. Strive for soil moisture levels at 75–85% field capacity. Avoid prolonged saturation, which leads to root rot and nutrient leaching.
Organic Nutrient Supply
After the initial compost incorporation, side-dress with kelp meal or fish-based fertilizer at 4–6 weeks post-emergence. This supplies a balanced boost of nitrogen, phosphorus, and potassium without synthetic chemicals. Rotate applications to coincide with peak root bulking stages for best results.
Pest, Disease Control and Weed Management
In an organic carrot enterprise, preventive measures are paramount. A rigorous sanitation program and habitat enhancement for beneficial predators can reduce reliance on corrective inputs.
Weed Suppression
- Apply a 1–2 inch layer of mulch (e.g., straw or wood chips) between rows after seedlings reach 3 inches tall.
- Implement shallow mechanical cultivation with sweep hoes to avoid damaging carrot roots.
- Use pre-emergent organic herbicides based on corn gluten meal in high-pressure weed scenarios.
Monitor regularly for carrot rust fly, aphids, and slugs. Install floating row covers to physically block pests. Introduce predatory insects, such as ladybirds, to control aphid populations.
Managing Diseases Organically
Rotate crops on a three-year cycle to disrupt pathogen life cycles. Apply foliar sprays of copper-based fungicides or neem oil under cool, damp conditions to prevent leaf blights. Ensure good air circulation by avoiding dense foliage and maintaining proper row spacing.
Harvesting, Grading and Marketing
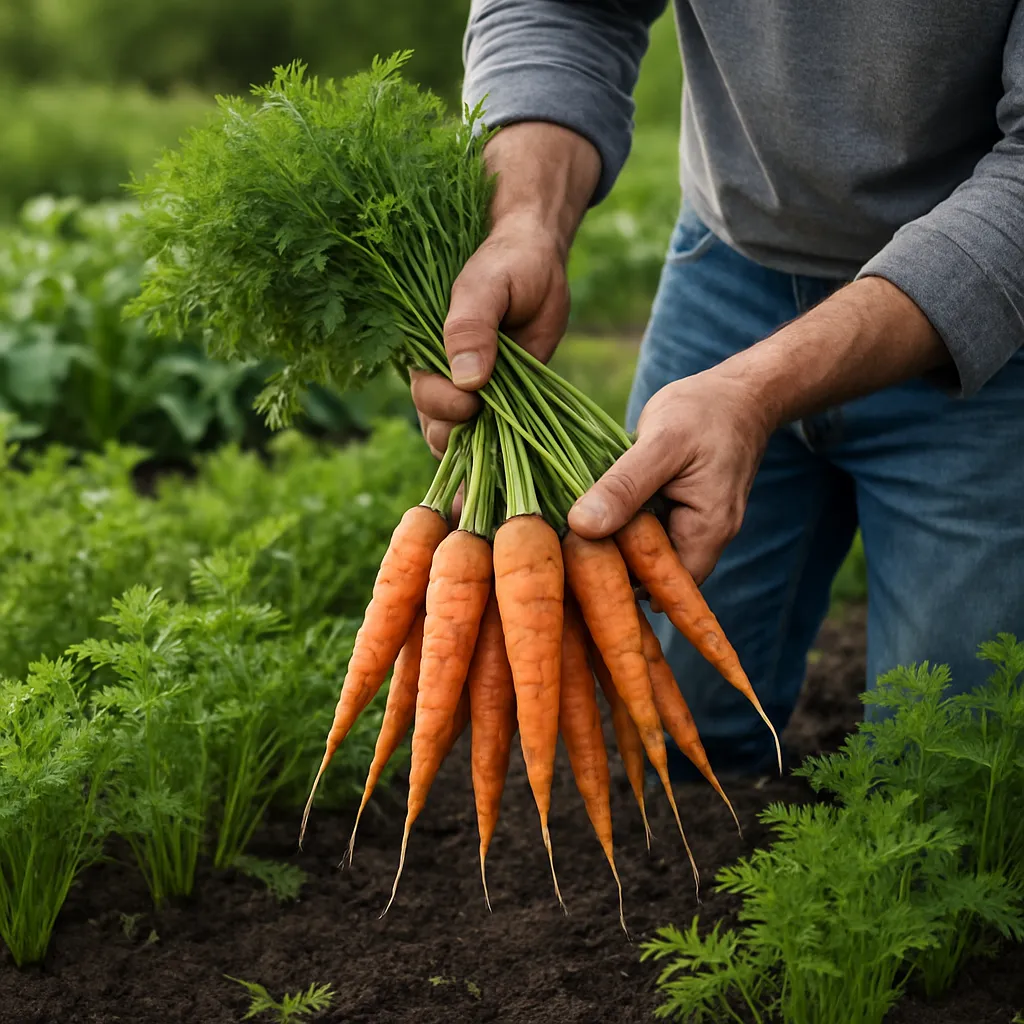
Harvest timing influences both quality and shelf life. Carrots mature within 70–80 days, depending on cultivar. Test a sample root for size and color before full-scale harvest. Conduct early morning lifting when soil is cool to minimize root damage.
Post-Harvest Handling
- Wash and brush roots gently to remove soil without damaging the skin.
- Sort by diameter and length; remove any deformed or damaged specimens.
- Cool carrots rapidly to 32°F with 95% relative humidity.
For direct-to-consumer channels, present carrots with fresh green tops intact, enhancing visual appeal. Wholesale buyers often require scrubbed and topped product packed in standard crates.
Building Your Market Presence
Capitalize on growing demand for sustainable and certification-backed produce. Join local farmers’ markets, CSA programs, and ethnic grocery suppliers. Emphasize your traceability, soil stewardship, and commitment to zero synthetic residues. Promotional materials can highlight your carrots’ superior flavor profile and crisp texture compared to conventionally grown options.