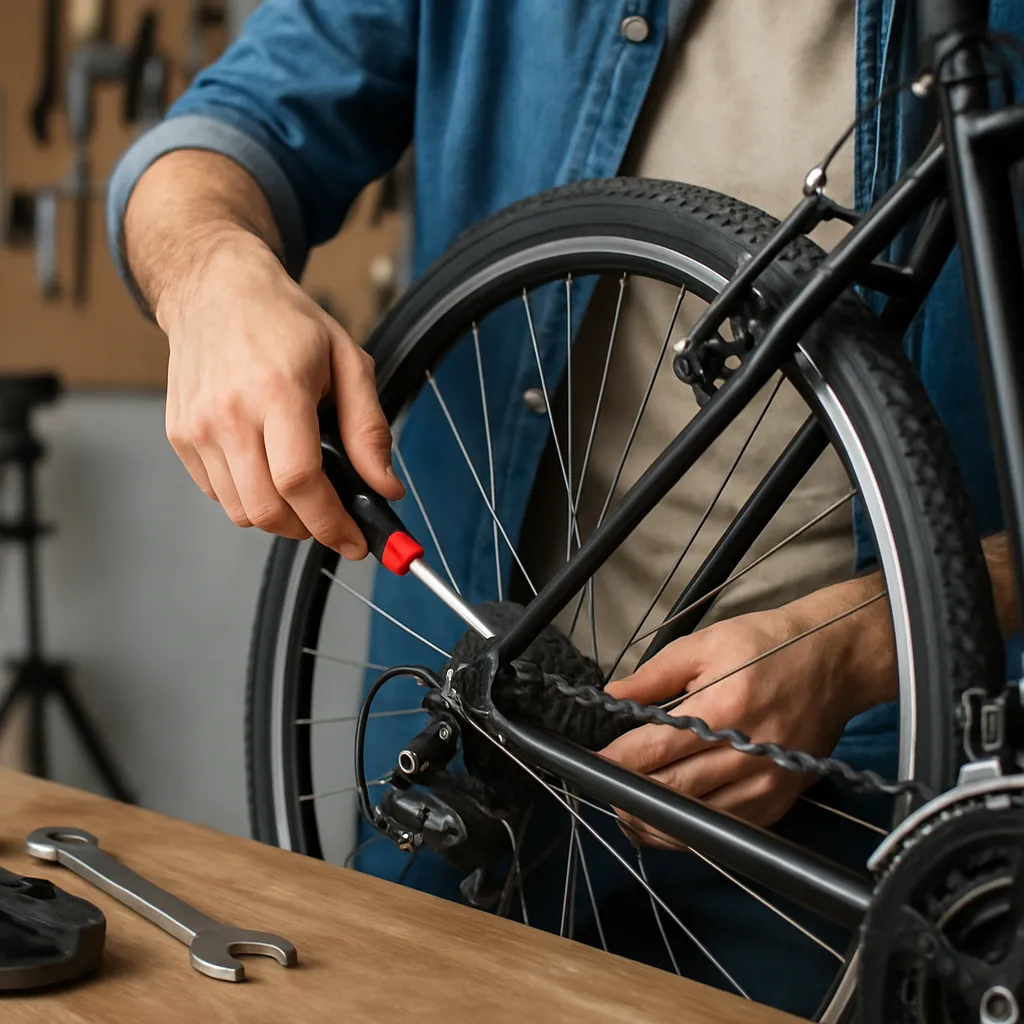
When you ride regularly, knowing a few practical bike fixes can turn a bad day on the road into a minor pause instead of a ruined trip. A small tool kit, a calm approach and a bit of practice are usually all you need. Many riders discover that basic maintenance is far less complicated than they feared, and that working on a bicycle is an empowering way to understand how it functions. If you are just starting with bicycle repair basics, this guide will walk you through the most common quick fixes. From flat tires and noisy brakes to slipped chains and loose bolts, you will learn how to diagnose problems and get rolling again safely. The aim is not to replace a professional mechanic, but to give you the skills and confidence to handle everyday issues on your own.
Essential tools every rider should carry
Before you can fix anything, you need a few key tools. You do not need a full workshop in your backpack, but a compact kit can solve most problems that appear during a ride.
- Multitool with hex keys (Allen keys), screwdrivers and sometimes a chain tool. Pick one that covers the main bolt sizes on your bike.
- Tyre levers made of strong plastic to remove tight tyres without damaging the rim.
- Spare inner tube in the correct size and valve type for your wheels.
- Mini pump or CO2 inflator so you can reinflate a tyre anywhere.
- Patch kit with vulcanising glue and patches for emergency tube repairs if you get multiple punctures.
- Small piece of old tyre or a specific tyre boot to repair cuts in the outer tyre.
- Disposable gloves or a rag to keep your hands clean when working on the chain.
At home, expand this with a floor pump with a pressure gauge, proper tyre levers, a chain wear checker, good quality screwdrivers and a set of open-ended wrenches if your bike has nuts instead of quick-release or thru-axle systems.
Fixing a flat tyre
A flat tyre is the most common issue cyclists face. Learning this one skill will save you time, money and frustration. The process is similar for most bikes, whether road, commuter or mountain.
Removing the wheel
If your bike has rim brakes, open the brake quick release so the tyre can pass between the pads. For quick-release wheels, open the lever and loosen the nut while holding the bike off the ground. For thru-axles, unscrew the axle and slide it out. On the rear wheel, shift the chain to the smallest cog to make removal easier, then gently pull the derailleur back as you lift the wheel free.
Taking out the tube
Let out any remaining air. Insert a tyre lever under the bead of the tyre, hook it over a spoke, then use a second lever a few centimetres away to work the bead off the rim. Once one side is off, pull the inner tube out, starting opposite the valve. Remove the valve last to avoid tearing the tube.
Finding the cause
Inspect the inner tube by inflating it slightly and listening or feeling for escaping air. Check the tyre carefully from the outside and the inside; run your fingers gently along the inside to feel for thorns, glass or sharp metal. Also inspect the rim tape that covers spoke holes. If you do not remove the object that caused the puncture, you will puncture the new tube as well.
Installing the new tube
Inflate the new tube just enough so it holds its round shape. Insert the valve through the rim hole, secure it with the ring if your valve uses one, and tuck the tube inside the tyre all the way around. Starting opposite the valve, push the bead of the tyre back onto the rim using your thumbs. Avoid using levers if possible, as they can pinch the tube. When you reach the valve, push it up slightly to help the bead sit correctly.
Inflating and checking
Inflate the tyre gradually while checking that the bead is seated evenly around the rim. Look for bulges or dips. Once the tyre is at the recommended pressure printed on the sidewall, spin the wheel and ensure it turns freely without rubbing on the frame or brake pads. Reinstall the wheel securely and close quick releases or thru-axles firmly.
Reattaching and adjusting a slipped chain
A slipped or dropped chain is messy but usually simple to fix. Shift into the small chainring and a middle rear cog. If the chain has dropped to the inside of the chainring, gently lift it and place it back on top of the ring. Slowly pedal the crank forward by hand while guiding the chain onto the teeth. If the chain sticks, look for twisted links or debris. Wipe off excess dirt and apply a small amount of lubricant if the chain is dry. Spin the cranks and shift through several gears to confirm smooth operation.
Basic brake adjustments
Good brakes are essential for safe riding. You should be able to stop quickly without the levers pulling all the way to the handlebar.
Rim brakes
For V-brakes or caliper brakes, first check pad alignment. The pad should contact the rim squarely, not the tyre and not too low. Loosen the pad bolt slightly, position the pad and tighten it again. Next, adjust cable tension. Use the barrel adjuster near the lever or on the brake arm to bring the pads closer or farther from the rim. Turn it out to tighten the cable and increase braking power, in to loosen it. Ensure both sides move evenly; if one pad sticks closer, turn the small centring screw on that arm until both arms move symmetrically.
Disc brakes
For mechanical disc brakes, you can use the barrel adjuster on the lever or calliper to tune cable tension. If the rotor rubs the pads, loosen the calliper mounting bolts slightly, squeeze the brake lever hard to centre the calliper around the rotor, then tighten the bolts again while holding the lever. For hydraulic discs, field adjustments are more limited, but you can still check for rotor bends, pad wear and proper lever feel. If the lever feels spongy or pulls to the bar, the system may need bleeding in a workshop.
Smooth gear shifting and derailleur tweaks
Rough or noisy shifting is annoying and can lead to premature wear. Often, it only takes a small adjustment to restore crisp changes.
Start by cleaning the drivetrain with a rag and a mild degreaser. Excess dirt on the cassette and chainrings can disturb shifting. Apply fresh lube to the chain and wipe off the surplus. Next, check cable tension using the barrel adjuster on the rear derailleur or shifter. If the chain hesitates when shifting to larger cogs, add tension by turning the barrel adjuster out a quarter turn at a time. If it struggles to go to smaller cogs, reduce tension by turning it in.
Limit screws control how far the derailleur can move. The high limit screw stops the chain from going past the smallest cog and into the frame; the low limit screw prevents it from overshooting into the spokes. If the chain occasionally drops off either side, fine-tune these screws very slightly. Make only small changes and test after each one.
Stopping creaks and tightening bolts
Strange noises are often early warnings. A creak might be just a loose seatpost clamp or pedal, but ignoring it can damage parts over time.
Common sources include the saddle, seatpost, pedals, crank bolts, stem bolts and the handlebar clamp. Working systematically, check each bolt with the correct hex key, tightening it firmly but not aggressively. If you have access to a torque wrench, follow the torque settings printed on the components. Wipe contact surfaces clean before reassembling; a thin layer of assembly paste or suitable grease on metal-to-metal joints can prevent future creaks.
Keeping your chain clean and lubricated
A dry or dirty chain wears out faster, shifts poorly and can even snap under load. Regular chain care is one of the simplest ways to extend the life of your whole drivetrain.
Shift to a middle gear and backpedal while holding a rag around the lower section of the chain to remove dirt. For heavy grime, use a dedicated chain cleaning tool or a stiff brush with degreaser. Allow the chain to dry, then apply a drop of lube to each roller while slowly backpedalling. After a few turns, wipe off the excess. The chain should look slightly shiny but not wet. Choose a lube suited to your riding conditions: wetter formulas for muddy or rainy weather, lighter ones for dry roads.
Quick fixes for a rubbing wheel
If your wheel suddenly rubs the brake or frame, first check that the wheel is seated correctly in the dropouts and that the quick release or axle is fully tightened. Sometimes that alone cures the problem.
If the wheel is still not straight, a spoke may be loose or broken. Gently spin the wheel and watch for side-to-side movement. If you find a minor wobble, you can make a temporary roadside adjustment by tightening the spoke on the side where the rim moves away, using a spoke key, and loosening the opposite spoke slightly. Make very small changes, no more than a quarter turn at a time. For significant damage, such as multiple broken spokes or a heavily bent rim, ride cautiously or walk and have the wheel professionally trued or replaced.
Adjusting saddle height and position
Comfort and efficiency depend a lot on proper saddle setup. A poorly positioned saddle can cause knee pain, back discomfort and loss of power.
To find an approximate height, sit on the bike with your heel on the pedal at its lowest point. Your leg should be almost straight. When you ride normally with the ball of your foot on the pedal, this results in a slight bend in the knee at the bottom of the stroke. Loosen the seatpost clamp, slide the post to the desired height and tighten it again. Ensure the post is inserted past the minimum mark printed on it.
Saddle tilt should usually be close to level. If the nose points too far up, it can cause pressure; too far down and you may slide forward. Many riders start with the saddle centred on the rails and fine-tune its fore-aft position by a few millimetres at a time after some test rides.
Preparing for common roadside emergencies
A little planning makes most problems manageable. Pack your tools in a small saddle bag and check them regularly. Carry enough cash or a card, identification, a basic first aid kit and a charged phone. Before leaving, quickly inspect tyres, brakes and the chain. Spin the wheels, squeeze the brake levers and glance at the tyre sidewalls for cuts.
Practice these skills at home when you are not under pressure. Time yourself changing a tube, adjusting your brakes or cleaning and lubing the chain. The more familiar these tasks become, the calmer you will feel when something goes wrong far from home.
Building confidence through regular maintenance
Learning to care for your own bike is an ongoing process rather than a single lesson. As you handle simple tasks like fixing flats or adjusting brakes, you gain the confidence to explore more advanced jobs such as replacing cables or tuning hubs. You do not need to master every aspect to enjoy the benefits. Even a handful of reliable, repeatable fixes make you more independent, extend the life of your components and keep your rides smoother and safer.
By turning small problems into manageable routines, you transform maintenance from a chore into part of the riding experience. Each time you resolve an issue on your own, you not only protect your equipment but also strengthen your connection to the machine that carries you. With a few tools, some patience and the knowledge covered here, you are well on your way to keeping your bike ready for every journey.