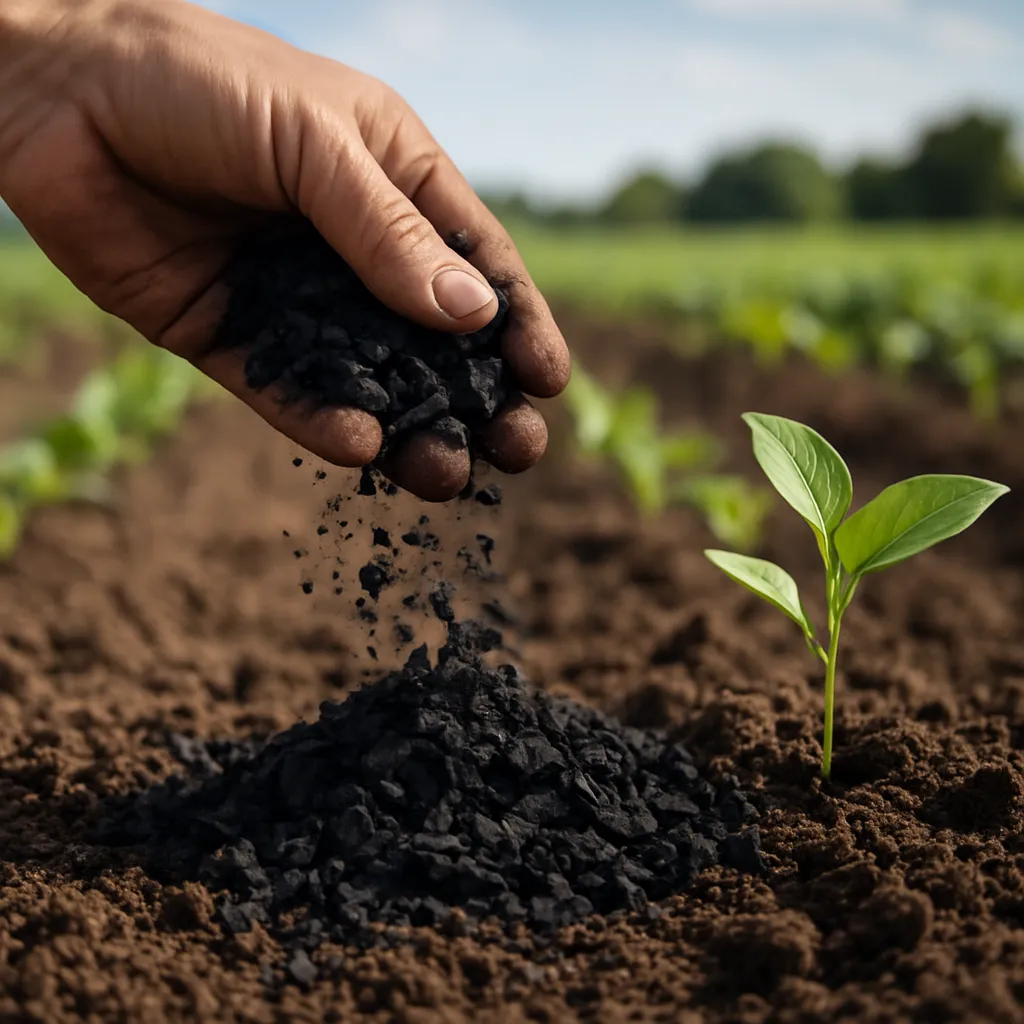
Producing your own natural fertilizers at home transforms ordinary kitchen scraps and garden waste into potent, nutrient-rich amendments that boost plant growth and enhance soil health. By recycling organic materials, you reduce waste, cut down on chemical inputs, and promote a truly sustainable approach to gardening and farming. The following guide explores diverse methods to create and apply homemade fertilizers, helping you harness the power of nature’s own microorganisms and ensure thriving crops with minimal environmental impact.
Why Natural Fertilizers Matter
Choosing organic and homemade fertilizers supports a balanced ecosystem in your garden or field. Unlike synthetic blends, natural options contain a spectrum of nutrients—nitrogen, phosphorus, potassium—and trace elements, delivered slowly and safely. Beneficial bacteria and fungi break down materials through decomposition, releasing nutrients while improving soil structure and water retention. Key advantages include:
- Enhanced soil structure and porosity, preventing compaction.
- Improved nutrient cycling through living soil life forms.
- Reduction in chemical runoff, protecting local water sources.
- Cost savings by using readily available household and garden residues.
Creating Homemade Compost
Materials Needed
- Kitchen scraps: fruit peels, vegetable trimmings, coffee grounds.
- Garden waste: grass clippings, fallen leaves, small pruned branches.
- Carbon sources: shredded newspaper, cardboard, straw.
- Water and a container: compost bin or simple pile.
Composting Process
To initiate the composting journey, alternate layers of high-nitrogen “green” materials (fresh scraps, lawn clippings) with high-carbon “brown” materials (dried leaves, paper). Aim for a ratio of roughly 1 part green to 2–3 parts brown. Keep the pile slightly moist—like a wrung-out sponge—and turn every one to two weeks to introduce oxygen, stimulating the bacteria that drive the decomposition process. In as little as six to eight weeks, you’ll harvest dark, crumbly humus rich in nutrients and beneficial organisms. Key tips:
- Maintain internal temperature near 55–65°C (131–149°F) for rapid breakdown.
- Ensure good aeration: mix and fluff the pile to avoid anaerobic zones.
- Avoid adding meat, dairy, or oily foods that attract pests.
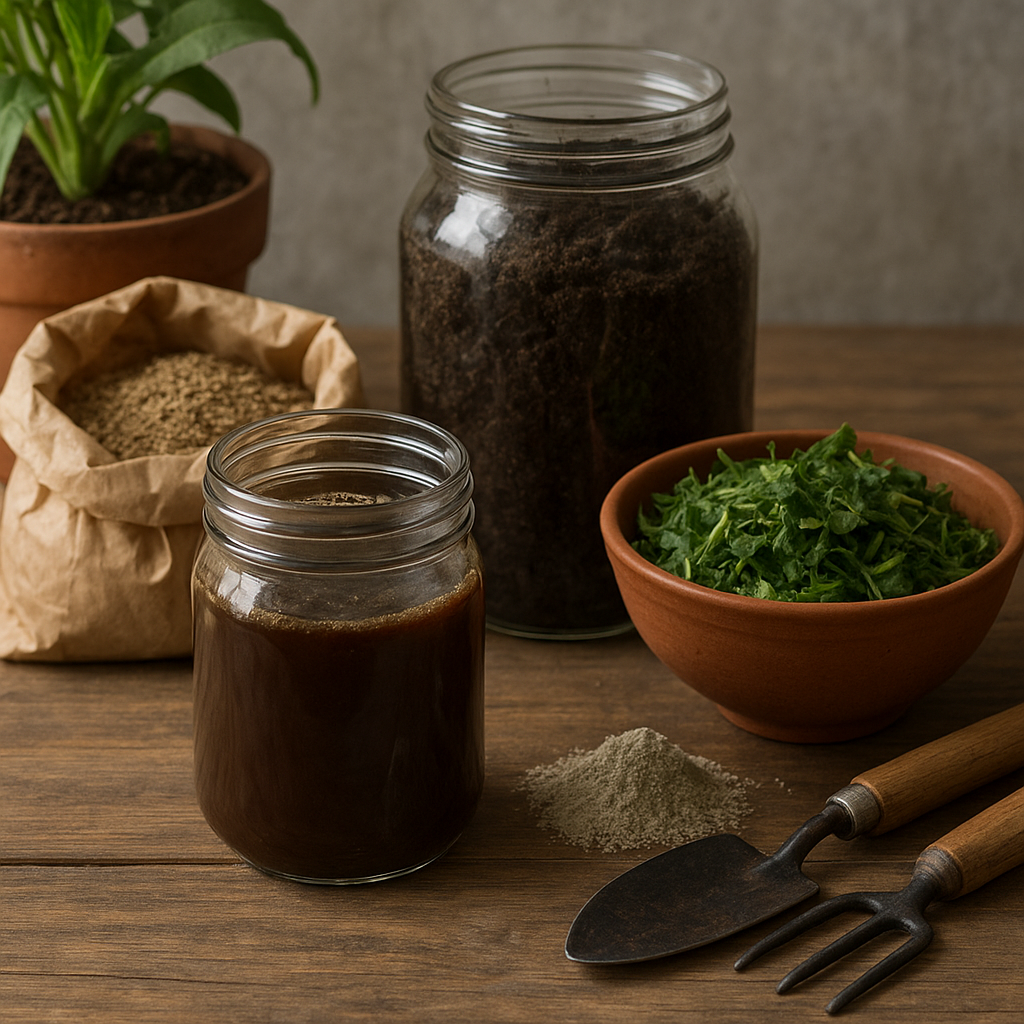
Liquid Fertilizers from Kitchen Ingredients
Liquid feeds or “teas” act as quick-acting supplements, delivering soluble nutrients directly to plant roots and foliage. They’re easy to prepare and customize based on available scraps.
Banana Peel Fertilizer
Banana peels are rich in potassium, a critical element for flowering and fruiting. To craft a simple peel tea, chop peels into small pieces and submerge them in a jar of water for 48–72 hours. Strain the liquid and dilute to one part tea to ten parts water. Apply directly to the base of plants every two weeks for enhanced bloom and growth.
Eggshell Fertilizer
Eggshells provide calcium, strengthening cell walls and preventing blossom end rot in tomatoes and peppers. Rinse shells, dry, and grind to a fine powder. Sprinkle around seedlings or mix into potting soil. For a liquid version, steep crushed shells in vinegar until fizzing stops, then dilute and water plants to boost calcium availability.
Comfrey Leaf Tea
Comfrey leaves are natural powerhouses of nitrogen, phosphorus, and potassium. Fill a bucket with chopped leaves, cover with water, and let ferment for two to three weeks, stirring occasionally. Dilute one part infusion to ten parts water before use. This tea encourages robust foliage and root development and enhances microbial activity in the soil.
Nettle Tea
Nettles, often dismissed as weeds, produce a potent, iron-rich liquid feed. Harvest young stinging nettles (wear gloves), fill a container with the leaves, and cover with water. Ferment for 7–14 days, then dilute at a ratio of 1:10. Foliar-spray or soil-drench to correct iron deficiencies and invigorate plant metabolism.
Application Techniques and Best Practices
Correct application ensures maximum benefit from homemade fertilizers without risking nutrient burn or imbalances. Consider these guidelines:
- Test soil pH and nutrient levels to tailor fertilizer composition.
- Apply compost at planting time or as a top-dressing in spring and fall.
- Use liquid teas during active growth phases—early spring for foliage crops, pre-flowering for fruiting varieties.
- Water plants lightly before and after fertilizer application to facilitate nutrient uptake.
- Rotate application points around root zones to avoid overconcentration of salts or minerals.
For container gardens, blend 20–30% compost into potting mix and top up with liquid feed every two weeks. In open fields, broadcast compost at a rate of 5–10 kg per square meter, then lightly rake in.
Safety Considerations and Environmental Impact
While natural fertilizers are safer than synthetic options, attention to hygiene and balance remains crucial. When handling fermenting teas or compost piles, wear gloves to shield against pathogens. Ensure proper ventilation to avoid inhaling molds or ammonia vapors. Monitor surrounding areas to prevent runoff into waterways, which can trigger algal blooms and disrupt aquatic ecosystems. By adhering to best practices, you conserve resources, nurture a flourishing agroecosystem, and minimize your environmental footprint.