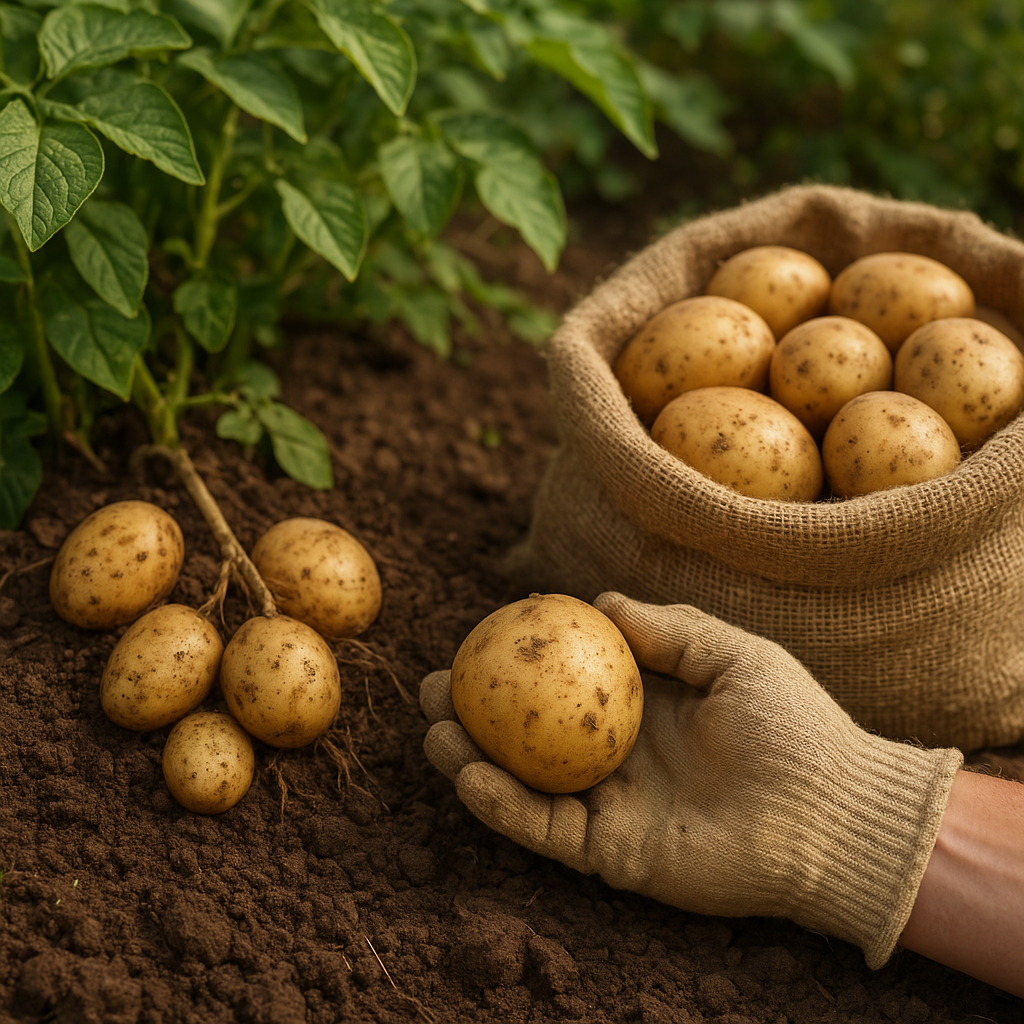
Raised garden beds have revolutionized the way modern farmers and home gardeners cultivate crops, offering improved soil quality, easier maintenance, and enhanced yields. By elevating planting areas above ground level, these structures deliver better drainage, reduce soil compaction, and help control weeds more effectively. Whether you’re an experienced grower or a beginner eager to learn the fundamentals of efficient farm planning, this guide will walk you through every critical step to build and maintain high-performing raised beds.
Planning Your Raised Garden Bed
Selecting the Ideal Location
Before gathering materials or breaking ground, carefully evaluate your site. The perfect spot should receive at least six to eight hours of direct sunlight daily to support photosynthesis and robust plant growth. Additionally, consider proximity to a water source—having a garden hose or irrigation setup within reach minimizes daily labor. Examine the land’s slope; a mild incline is acceptable, but avoid areas prone to water pooling or heavy runoff.
Determining Dimensions and Layout
Raised beds come in various shapes and sizes. Standard widths range between 3 to 4 feet, enabling easy access from both sides without stepping into the bed. Common lengths extend from 6 to 12 feet, depending on available space. Height often lies between 12 and 24 inches, accommodating deep-rooted vegetables and improving soil temperature retention.
- Width: 3–4 feet (optimal for reachability)
- Length: 6–12 feet (fits most yards and farming plots)
- Height: 12–24 inches (supports most root systems and water retention)
Choosing Suitable Materials
Selecting durable and non-toxic materials is crucial for long-lasting beds. Popular options include:
- Cedar or redwood lumber—naturally rot-resistant and ideal for organic growing.
- Recycled composite boards—sturdy, low-maintenance, and free of harmful chemicals.
- Concrete blocks or bricks—economical and long-lasting, though they may absorb heat.
- Corrugated metal panels—modern aesthetic with excellent durability.
When using lumber, avoid pressure-treated wood that may leach chemicals into the soil. Opt for untreated or naturally rot-resistant varieties to ensure crop safety.
Construction and Assembly
Gathering Tools and Supplies
Preparation is key for efficient assembly. Ensure you have the following on hand:
- Circular saw or handsaw
- Power drill with screwdriver bits
- Measuring tape and carpenter’s square
- Galvanized screws or weather-resistant brackets
- Level to guarantee even installation
- Protective gloves and safety goggles
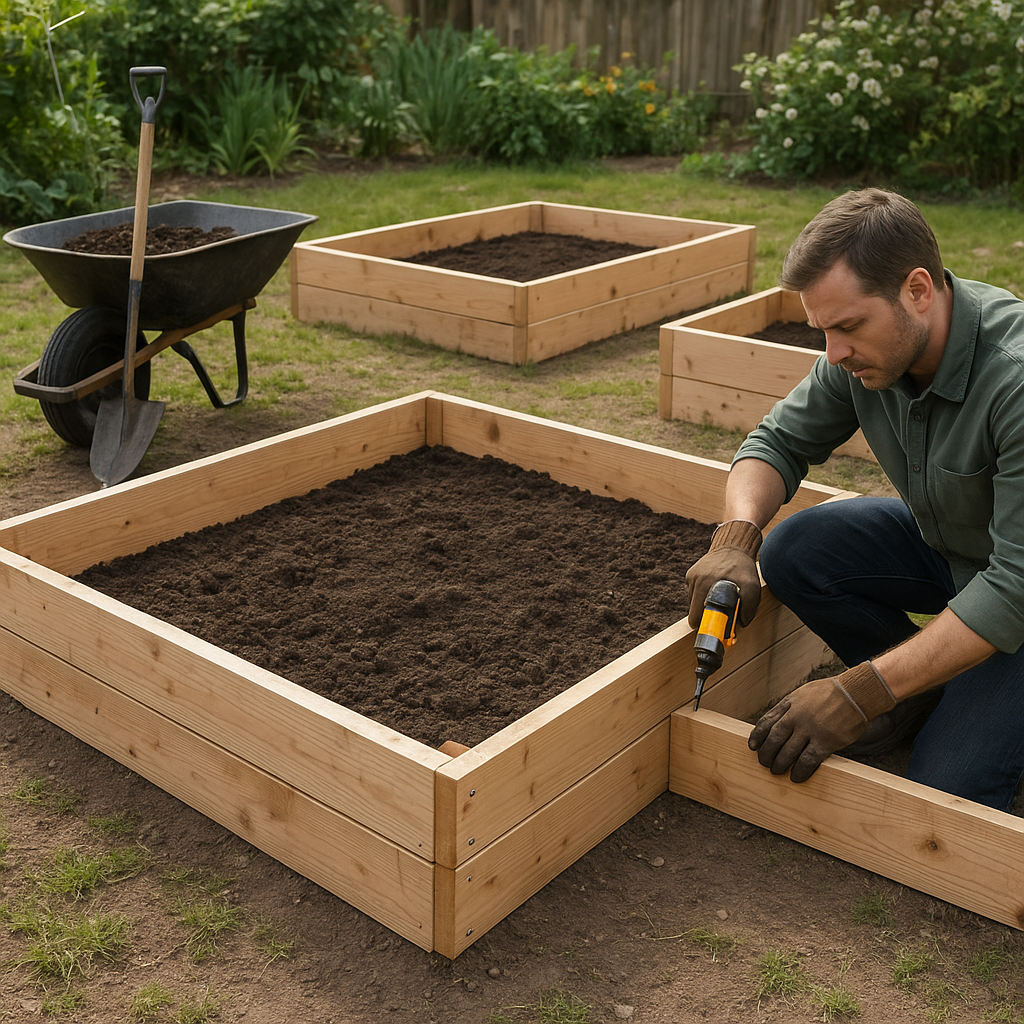
Building the Frame
Follow these steps for secure frame construction:
- Measure and cut boards to the desired length. Precision ensures tight corners and a neat appearance.
- Lay out the boards on a flat surface, forming a rectangle or square. Use the carpenter’s square to confirm 90-degree angles.
- Drill pilot holes at the ends of each board to prevent splitting. Fasten the corners with galvanized screws or L-brackets for extra stability.
- Use a level to make sure the structure sits evenly on the ground. Shim as needed to avoid wobbling.
Securing the Frame to the Ground
Anchoring your raised bed prevents shifting over time, especially on sloped terrain:
- Drive rebar or metal stakes through pre-drilled holes in the bottom corners and midpoints of each side.
- For brick or block beds, use landscape adhesive to bond units together and secure them to the soil surface.
- Consider attaching metal corner braces on the exterior to reinforce long beds against lateral forces.
Soil Preparation and Planting
Creating the Optimal Soil Mix
A premium soil blend is the heart of a productive raised bed. Combine these components for balanced nutrition and structure:
- 1 part high-quality topsoil
- 1 part compost or well-aged manure for organic matter
- 1 part coconut coir or peat moss for moisture retention
- Optional: a handful of vermiculite or perlite to improve aeration
Mix thoroughly before filling the bed. This blend ensures good water retention while allowing roots to penetrate easily.
Filling the Bed in Layers
Layering can help recycle garden debris and reduce overall soil costs:
- Base Layer: Coarse materials, such as sticks and straw, promote drainage.
- Middle Layer: Green waste (grass clippings, kitchen scraps) to decompose over time.
- Top Layer: Prepared soil mix where seeds and seedlings will grow.
Allow the bed to settle for a few days, then top it up if necessary to maintain the designed height.
Selecting Crops and Planting Techniques
Raised beds support diverse cropping systems:
- Intensive planting—place seedlings 6–9 inches apart to maximize yields.
- Intercropping fast-growing greens (lettuce, spinach) between slower crops (tomatoes, peppers).
- Vertical supports for vining plants like beans, cucumbers, and peas.
Use a planting calendar suited to your climate zone. Label rows and maintain a detailed log of planting dates and varieties.
Maintenance and Best Practices
Irrigation Strategies
Consistent moisture is critical in raised beds because they can dry out faster:
- Drip irrigation systems deliver water directly to plant roots, conserving water and reducing evaporation.
- Soaker hoses laid along rows can simplify hand watering.
- Apply a 2–3 inch mulch layer (straw, wood chips) to lock in moisture and suppress weeds.
Fertilization and Soil Health
Monitor nutrient levels and maintain soil fertility:
- Add compost tea or organic liquid fertilizers every 4–6 weeks during the growing season.
- Incorporate cover crops, such as clover or rye, to fix nitrogen and prevent soil erosion.
- Rotate plant families annually to break pest cycles and balance nutrient uptake.
Pest and Disease Management
Raised beds can reduce some pest pressures, but vigilance remains essential:
- Install row covers or insect netting over vulnerable seedlings.
- Encourage beneficial insects (ladybugs, lacewings) by planting pollinator-friendly flowers nearby.
- Practice regular inspection and remove any infested leaves promptly to stop the spread of diseases.
Expanding Your Raised Bed System
Once your initial beds are successful, consider scaling up:
- Connect multiple beds with pathways wide enough for wheelbarrows and tools.
- Add cold frames or cloches at one end for season extension and early starts.
- Integrate a rainwater harvesting barrel to boost your farm’s sustainability and reduce utility costs.